Drip cakes have become one of the most popular cake decorating trends, loved for their artistic, fun, and decadent appearance. Whether it’s a chocolate ganache drip, a colorful candy melt drizzle, or a metallic glaze, the dripping effect adds an elegant yet playful touch to any cake. Creating a flawless drip cake requires the right techniques, a bit of patience, and an understanding of how different ingredients interact.
Choosing the right cake is the first step in creating a stunning drip cake. While any cake flavor can work, a well-structured cake with a sturdy buttercream or ganache coating provides the best base for the drip effect. A chilled cake ensures that the drips set properly without melting into the frosting.
Preparing the drip mixture is crucial for achieving the perfect consistency. The most common drip material is chocolate ganache, made by heating heavy cream and pouring it over chopped chocolate, then stirring until smooth. White chocolate can be tinted with gel food coloring to create vibrant drips. Candy melts and royal icing can also be used for colorful or glossy drips. The key is to achieve a pourable but thick consistency—too thin, and the drips will run too far; too thick, and they won’t flow naturally down the cake.
Before applying the drips, testing the consistency on the side of a bowl or plate helps ensure the mixture flows correctly. If the drip is too runny, letting the mixture cool slightly will thicken it. If it’s too thick, a small amount of warmed heavy cream can help loosen it.
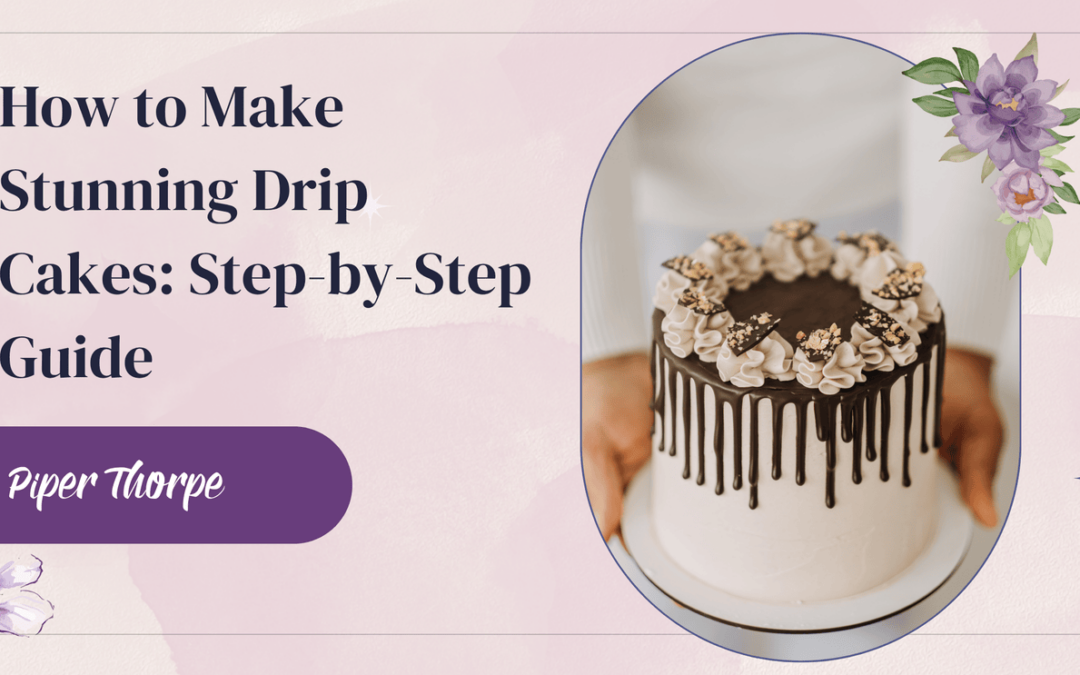
Applying the drip effect starts with using a spoon, piping bag, or squeeze bottle. A spoon or piping bag allows for more control over each drip, while a squeeze bottle creates a more uniform effect. Starting from the edges, gently let the mixture flow down the sides of the cake, adjusting the pressure to create varying drip lengths. Once the edges are complete, pouring additional ganache on top and smoothing it with an offset spatula finishes the look.
For a bold and unique design, experimenting with different drip colors or even a double-drip effect can add an extra layer of creativity. Using two complementary colors, such as dark chocolate and gold, or pastel and metallic shades, creates an eye-catching contrast.
Decorating the top of the drip cake completes the design. Fresh berries, macarons, sprinkles, or edible gold flakes add texture and enhance the cake’s theme. Whipped cream swirls, piped rosettes, or edible flowers also elevate the overall presentation. For a more luxurious finish, dusting the drips with edible glitter or painting them with luster dust gives them a shimmering effect.
Storing a drip cake properly ensures the design stays intact. Refrigeration helps set the drips, but cakes should be brought to room temperature before serving to avoid condensation affecting the drip’s appearance.
A well-executed drip cake is a showstopper at any event. Whether it’s a birthday celebration, wedding, or special occasion, mastering the drip technique allows for endless creativity in cake decorating. With the right ingredients, patience, and artistic touch, anyone can create a stunning drip cake that looks as good as it tastes.